How to Plaster a Room
Smoothing out a wall is no simple task that can be done in a breeze – especially when dealing with a significant surface area, seeking professional guidance may prove beneficial. However, for minor crack and patch repairs within a room, you should be able to achieve successful results by adhering to these straightforward steps:
1. Gather the appropriate tools.
2. Ready your workspace.
3. Remove any existing plaster.
4. Mix your plaster mixture.
5. Apply the plaster evenly.
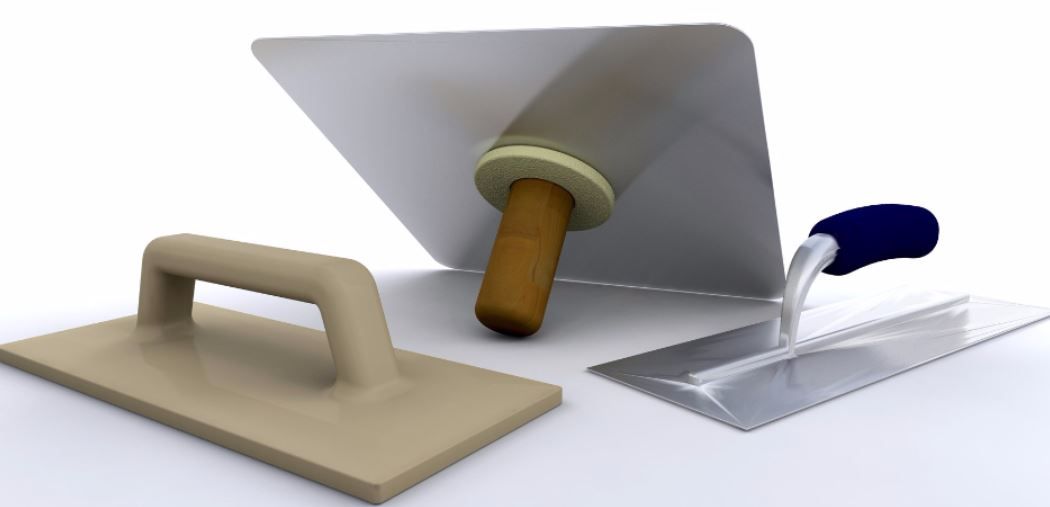
Gather all your tools and materials.
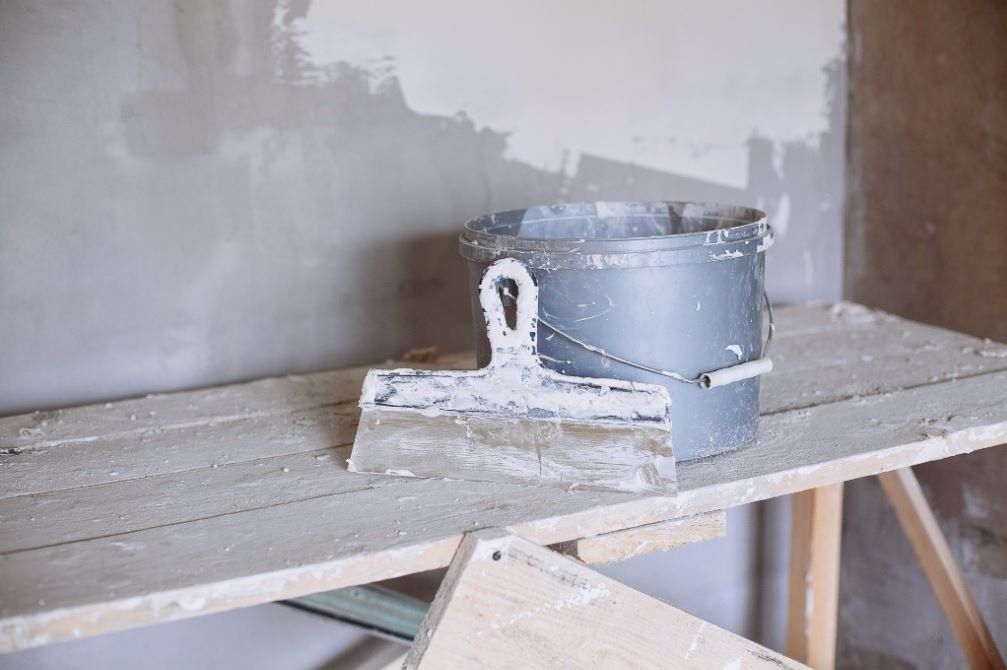
To begin with, for those tackling a DIY plastering project, it is crucial to have the appropriate materials and tools at hand. The necessary items typically include: a trowel—opt for one that strikes a balance between cost and quality, ensuring it is durable with a comfortable grip; a hawk—a surface for holding plaster akin to an artist's easel; a power drill with a mixing paddle attachment for effortless blending; two buckets, one standard-sized and one larger, for preparing the plaster mixture; angle beading for corners; a high-quality paintbrush; scrim tape for securing board joints; a lump hammer; chisel; dust sheets; water; rubble sacks; a wheelbarrow; cleaning essentials such as rags, a dustpan, and a brush; and multi-finish plaster.
Start by prepping the area and removing any old plaster.
Prepare the area by moving furniture away and safeguarding surfaces with dust sheets. Clear the walls of all fixings and furnishings, such as skirting boards and picture rails. Remember to drain the radiator and switch off the heating if needed when removing it. For safety, seek professional help if unsure about removing certain fixtures. Keep the plaster moist by having water nearby to minimize dust during removal. Consider wearing protective gear like an eye mask and face mask. Begin the plastering process by carefully chiseling away the old plaster while keeping the area damp. Depending on your preference, consider using plasterboard for a quicker and easier finish, or skip the plasterboard when simply patching up a wall. Before applying the plaster, ensure that angle beads are in place along edges and alcoves.
Prepare your plaster mixture.
To ensure successful plaster mixing, carefully follow the instructions provided on the packaging, as brands and types of plaster may differ. Always use a fresh, clean bucket for each plaster mixture. If uncertain about the quantity needed, especially for beginner plasterers, it's advisable to mix smaller batches. Plaster begins to dry once mixed, so it's better to start with a small amount and add more as needed, rather than wasting excess. Remember to add plaster to the water, not the other way around, to ensure accurate measuring. Use your drill to combine thoroughly until achieving a smooth consistency, free of any lumps.
Applying your plaster
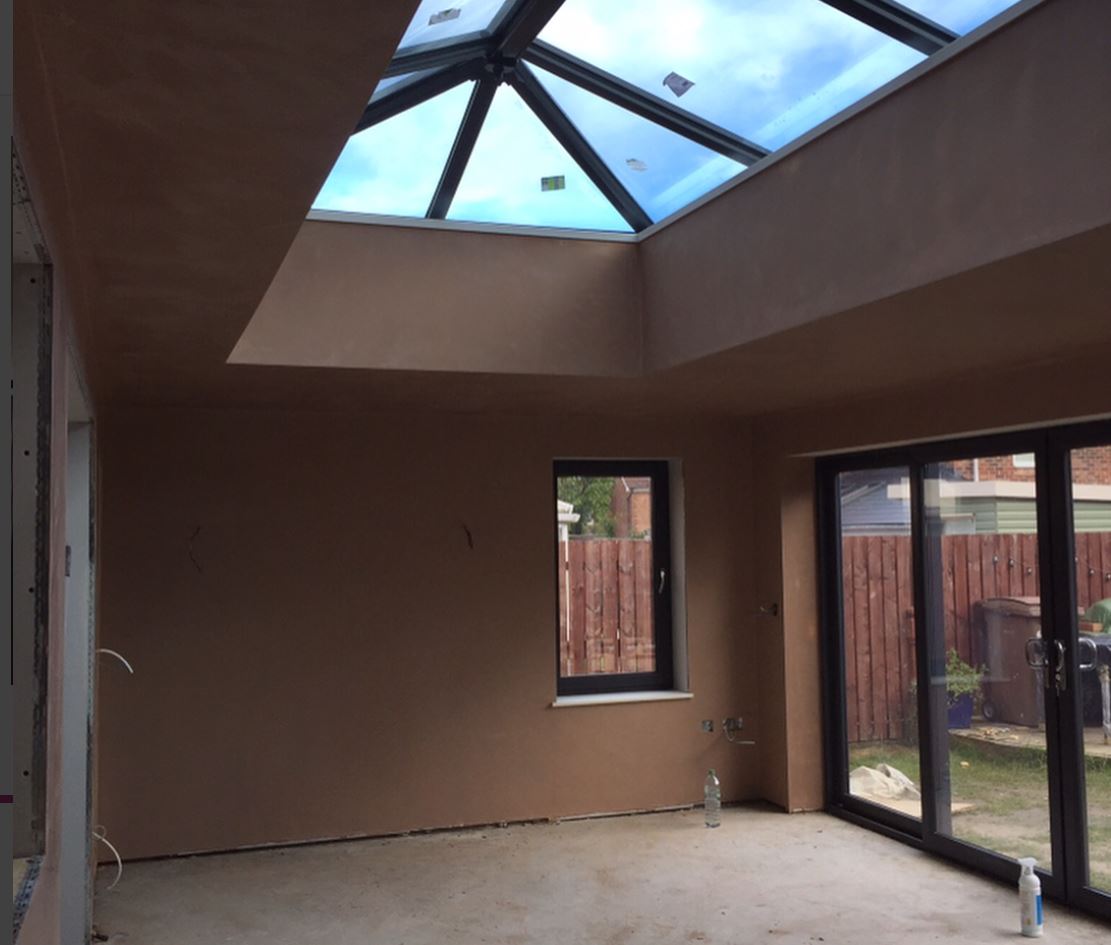
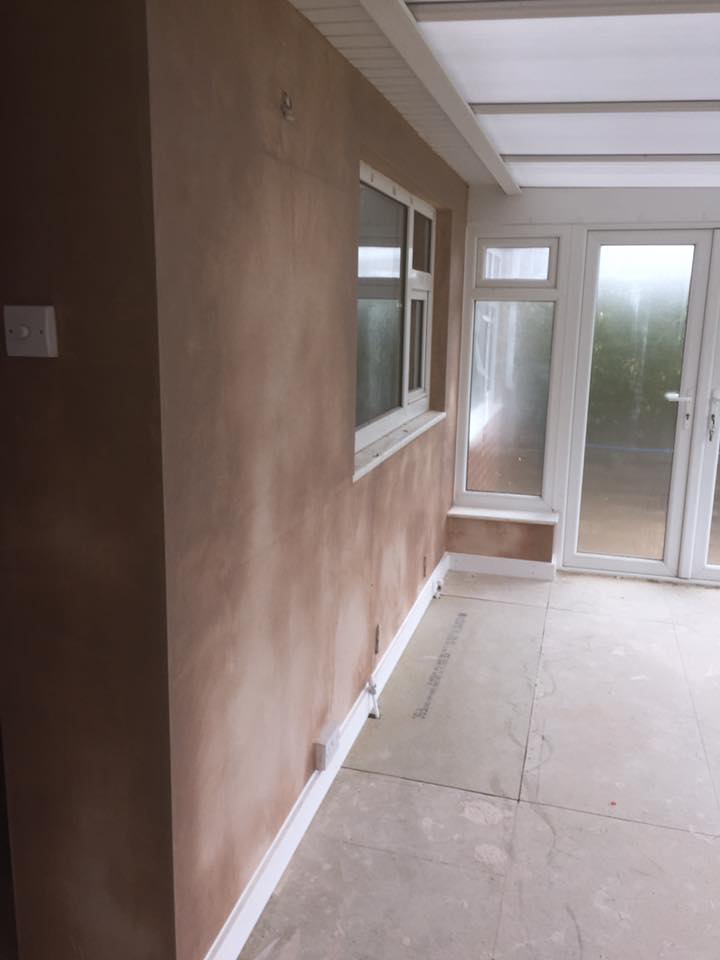
If you have applied plasterboard, a single coat of plaster will suffice. Take a trowel-full of plaster from your mixing bucket onto your hawk board. With your trowel, cut the plaster down the middle and flick it up, ensuring half remains on the trowel; if the consistency is right, it will hold onto the trowel without sliding off.
Commence at the base of your wall and distribute the plaster evenly. Maintain your trowel at an angle, as laying it flat against the wall will cause it to adhere. Clean the trowel and repeat the process until the entire wall is covered.
To prevent cracking as the plaster dries, ensure the room is well-ventilated and not overly warm; rapid drying in a hot environment can lead to cracking. If concerned, use fans to cool the room or lightly sprinkle water on the plaster to slow the drying process.
When the plaster has partially set but is still workable, refine the surface with your trowel, employing a smooth, sweeping motion for a polished finish.
Polishing your plaster
After the plaster has dried thoroughly, take your paint brush and lightly flick water onto the wall. Dampen your (clean) trowel and glide it smoothly across the plaster surface, using the same fluid, extended strokes as you did earlier. This step will smooth out any remaining imperfections.
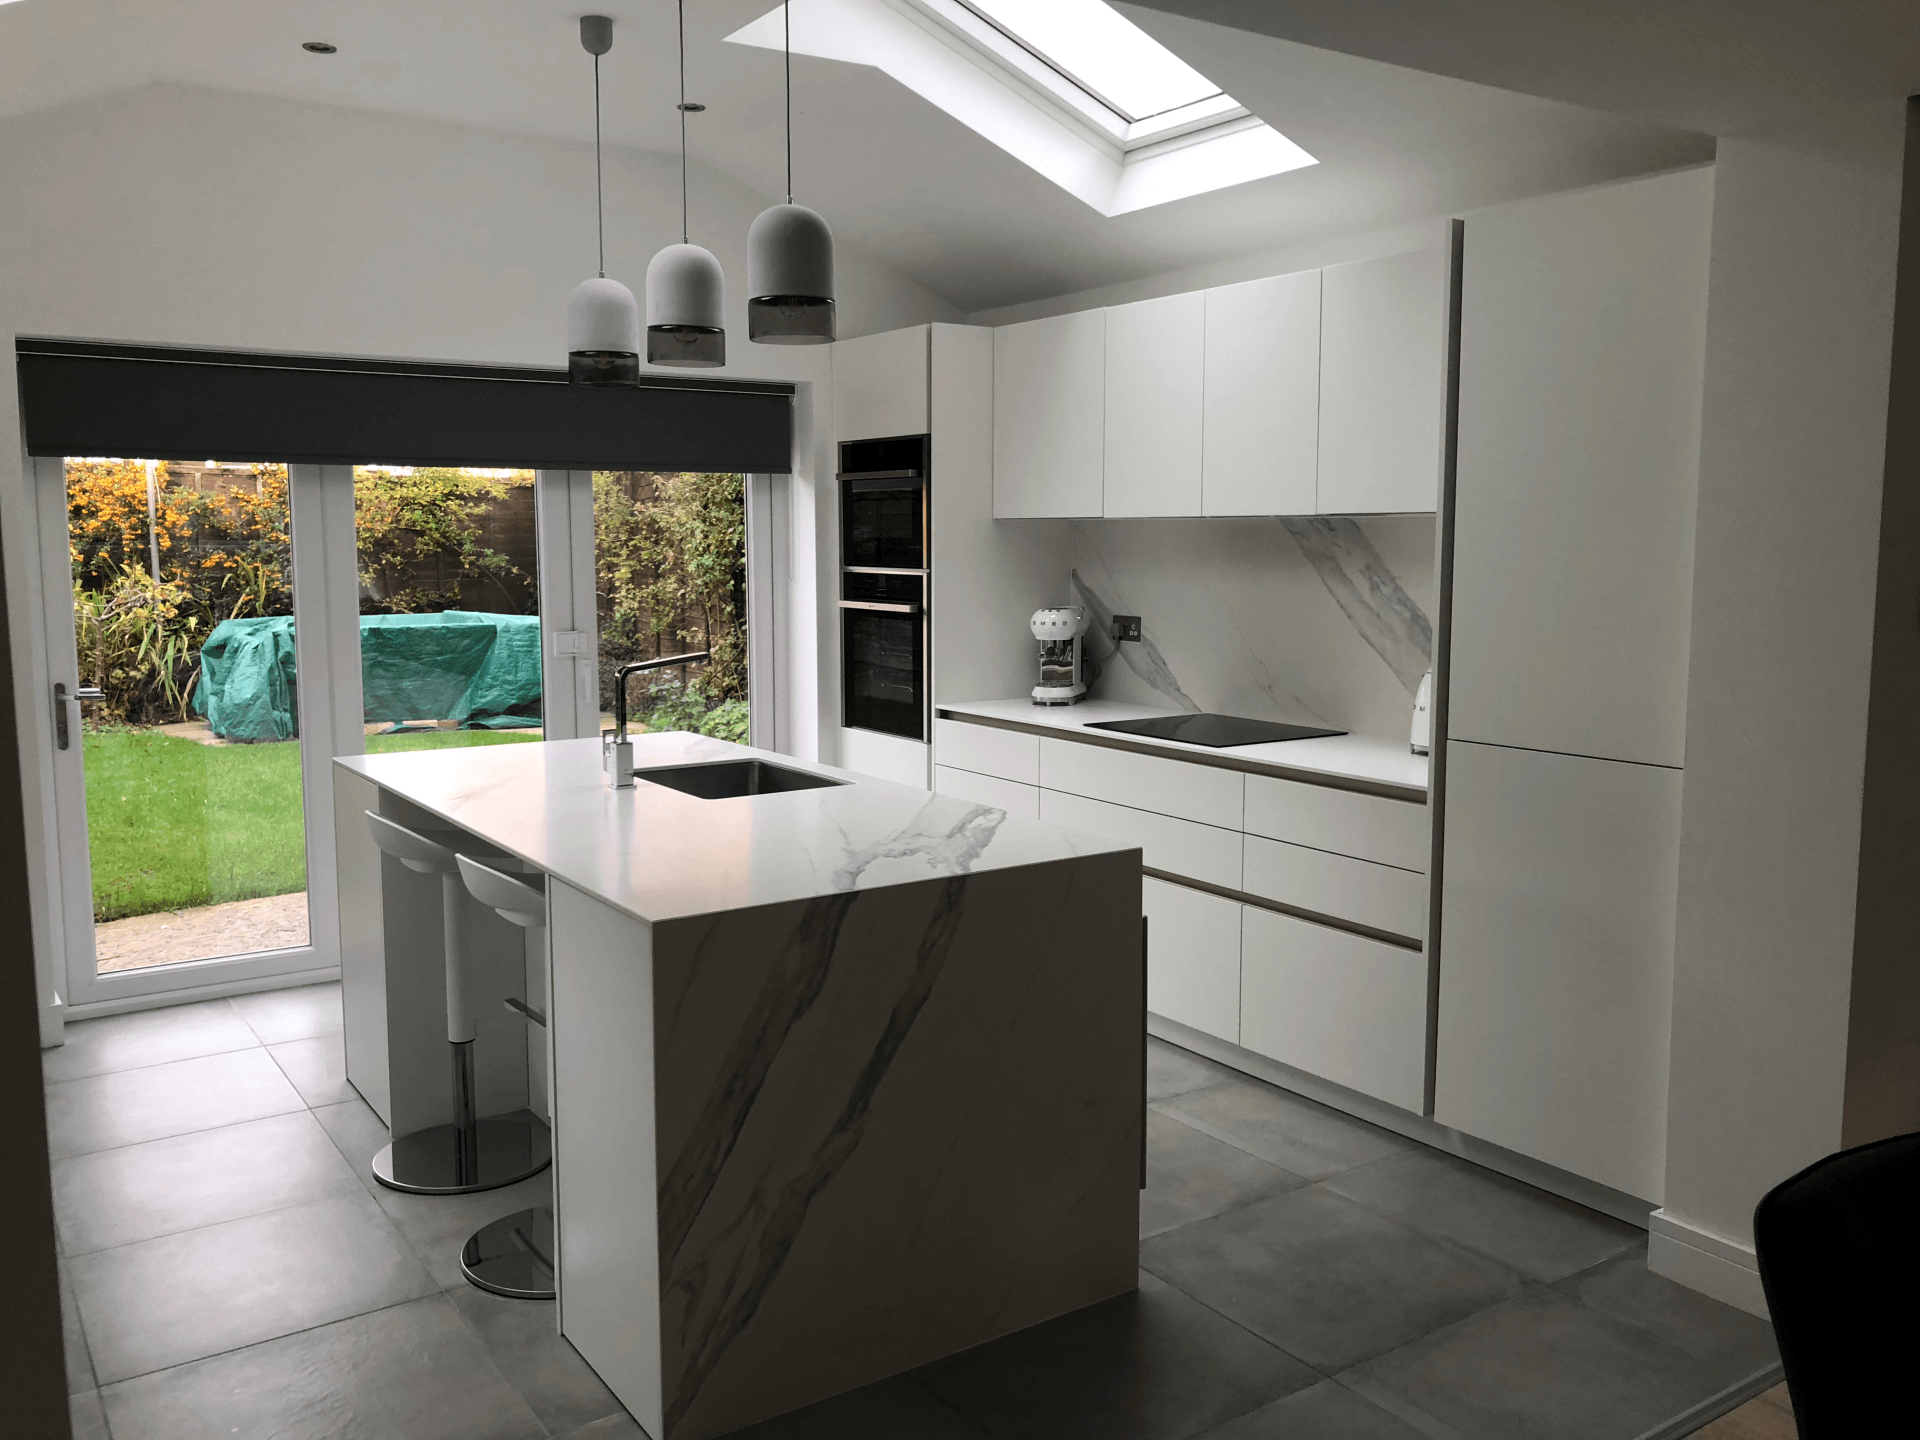
Once you finish plastering, clean your tools, securely store any leftover plaster bags for future use, or discard them if not needed soon. Sit back and admire your beautiful new wall! Prepare it for painting by applying a coat of emulsion paint mixed with a splash of water over the dry plaster.

